![true-impact-logo-color.svg]](https://support.trueimpact.com/hubfs/true-impact-logo-color.svg)
1. Find your notification rules
- Once you log in to the platform, click on your name in the top right corner.
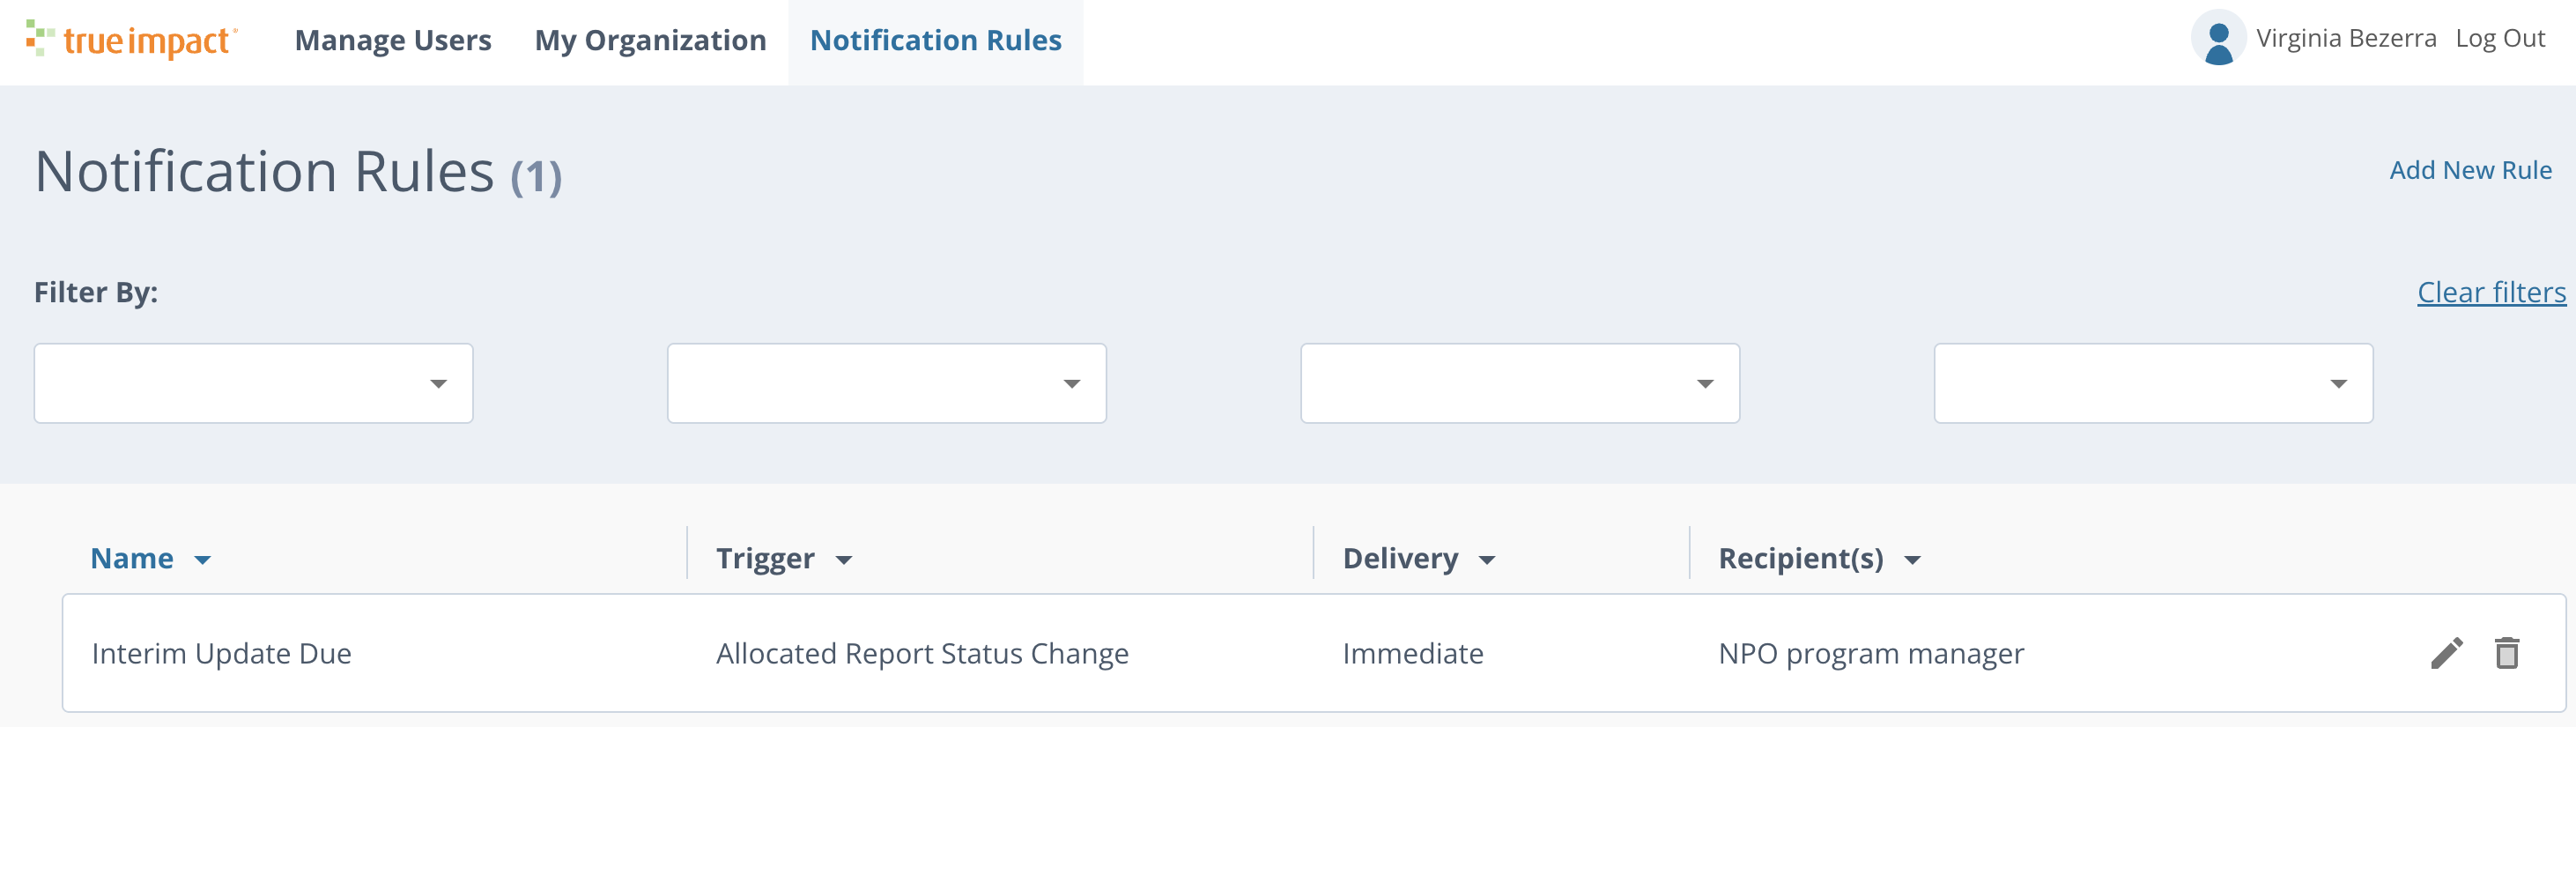
- Click the Notification Rules tab at the top. This shows all of the notifications that already exist on your account. Click on any rule to edit it.
2. Create a new rule
- Click New Rule.
- Give the rule a name.
- Select a notification rule trigger from the dropdown menu. The trigger determines what causes the notification to be sent. Your options are:
- Reporting date reminder: sends based on the due dates you set in the investment upload. If you select this option, you will be able to adjust how many days before/after the selected reporting date is sent.
- Investment created: sends as soon as an investment is created.
- Report allocated to investment: sends once an investment has been allocated to a report.
- Report status change: sends notification when a report moves from one status to another: for example, from Waiting to Draft, Published, or Finalized.
- Allocated report status change: sends notification based on the stage of the report: Initial, Interim Update, or Final.
- Invitation sent: sends notification when a grantee invitation goes out.
3. Customize the email template
- Select Custom to use your own wording for this rule, then click View/Edit Template.
- Add a subject line and edit the body of the email.
- To insert a variable into the body, select it from the Add Variable dropdown menu.
4. Set the delivery options
- Immediate delivery: the notification is sent as soon as the trigger occurs.
- Digest delivery: one or more notifications are collected and delivered together in a single email, on the schedule you select.
5. Choose the recipients
- Select the recipients for the rule from the dropdown menu.
- Please note that any recipient must already be a user on your account. To add someone, use Manage Users under your account settings.